Corpse bride makeup Tutorial
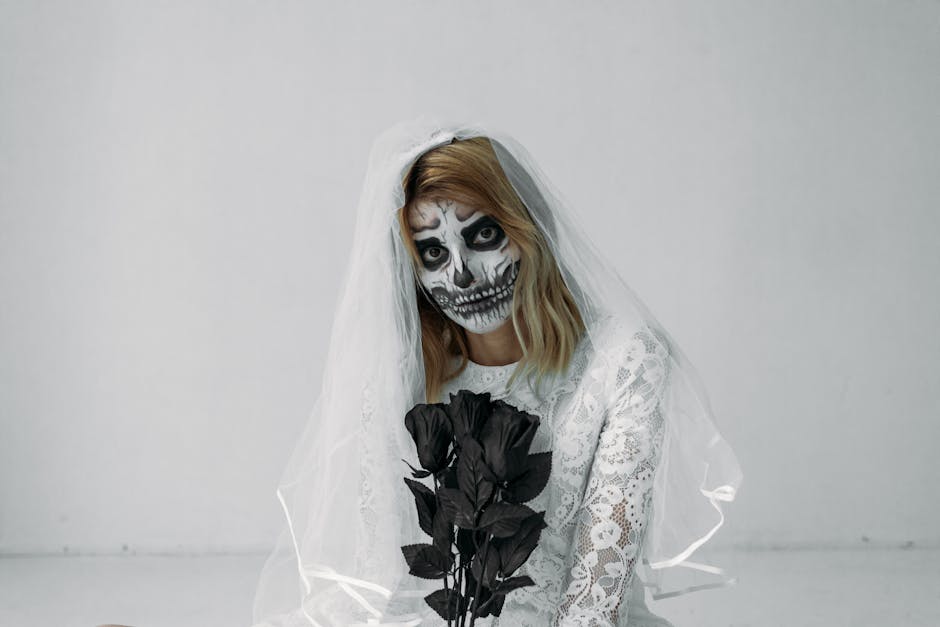
This is a blog about doing corpse bride like makeup. It is easy to do and should take no longer than an hour to complete.

I have added a video, which will show you how to do this make up look. I have also included a step by step photo guide at the bottom of this post. This step by step photo guide includes tips and links to the products that I used to achieve this look.

So here goes:

STEP BY STEP GUIDE:

Start with a clean face and apply moisturiser if you like. Then apply your primer, foundation and concealer as usual. (You can skip these steps if you want too)

As a makeup artist, I am often asked to recreate the corpse bride look for Halloween. The corpse bride is an elegant and beautiful dead look, that is easy and fun to do.

There are a few different ways that you could approach doing this makeup. You could do the makeup in the traditional blue color, or you could do it in the more realistic looking way, with the purple and green colors.

The traditional blue version is a great look to do if you want to keep things simple and fast. It is also a great option if you are doing this on children, because they won’t mind having their faces painted blue as much as they would mind having them painted purple and green.

The realistic version is a bit more involved, but I think it looks really cool when it’s done right. It gives you the chance to get really creative with your makeup techniques.

Corpse Bride Makeup Tutorial

I have been an Elvis impersonator for several years, and I can’t even count the number of times people have asked me to become an Elvis/Vampire/Zombie mix. It’s a popular combination in movies, music, and books, but it seems difficult to achieve in reality.

That is why I was thrilled when Tim Burton created the character of Victor Van Dort in his movie “Corpse Bride”. The idea is brilliant: what if someone mistakenly married a corpse? The look is very similar to that of a vampire or zombie, except that the face is whiter than white, and the lips are blue instead of red. The makeup is simple and fast to apply, and once you get the hang of it you will be able to do it in less than five minutes. In this tutorial I will show you how you too can turn into Victor Van Dort!

Step 1: Whitening Your Skin

The first thing you need to do is whiten your skin so that it looks like death. This can be easily achieved using white face paint like those used by clowns, but they tend not to last long. For this reason we recommend using a product called Mehron Liquid Latex. It has the same

The first step in doing your corpse bride makeup is to paint your entire face white. You can use white face paint, or simply a white powder foundation. Apply it thickly and evenly all over the face, including the lips. Powder your face lightly with translucent powder to set the makeup.

Next you will want to work on the lips. Make them bluish-black by painting them with a blue eyeshadow or eyeliner pencil, then smudging it into your lips with your fingertip or a q-tip. To make your teeth look rotted, you can use a black eyeliner pencil to draw on holes and lines.

For the hair, you can choose between wearing a wig or styling and dying your own hair. If you are using a wig, make sure to style it so that it looks messy and tangled. To do this, backcomb each section of hair before brushing it out with a fine-toothed comb so that there is lots of volume at the roots. Then spray each section with hairspray before spraying the whole wig thoroughly with hairspray to hold the style in place.

If you are using your own hair, backcomb each section as above to create lots of volume at the roots, then work some candle wax

Though Corpse Bride is Tim Burton’s latest film, this is not the first time he has used corpse bride makeup to tell a story. Previously, he used the same makeup style in Edward Scissorhands. There are many similarities between the two characters; one of them being the corpse bride makeup.

In this article I will demonstrate how to apply corpse bride makeup.

The best way to apply corpse bride makeup is to start with a white base, and then add blue and black over that base. For this tutorial I will be using Ben Nye’s Clown White.

The first step in applying corpse bride makeup is to make sure your face is clean before applying any makeup at all. Next, apply your clown white base to your face. Be sure to apply it evenly so as not to have any streaks or blotches on your skin.

What is your favorite costume to wear? Mine happens to be The Corpse Bride (which I will call CB for short). It is my favorite costume because I get to do my makeup like a corpse (I am weird, I know). But seriously it is not just the makeup that makes this costume. It is the whole look. You need the right dress, jewelry, hair, and makeup.

I’m not going to go into detail on how to make the dress or jewelry because you can really make it your own. Just look at some pictures of CB and go from there. If you want to get really close, you can buy a whole costume for about $30 at Amazon.

[image]

Now on to the fun part! The makeup!!!

With Halloween just around the corner, many people are looking for costume ideas. One of the most popular costumes this year is going to be from the Tim Burton movie, Corpse Bride. Even though there are plenty of places that you can buy a costume from, sometimes it is much more fun to make your own costume. Here is an easy way to make your own Corpse Bride Costume:

First, you need to apply white body paint, powder and makeup all over your body. Then you need to apply dark purple eye shadow all over your eyes and put on fake eyelashes. After this is done, you need to wear a short sleeve white dress. You can get this at your local thrift store or department store since they usually sell them inexpensively in plain white.

After that you need to get long gloves that look like skeleton bones and preferably some blue shoes or slippers. Finally, you need a wedding veil with an attached crown and some fake flowers for accessories. Now you are ready to go out there with your own homemade Corpse Bride Costume!

Leave a Reply